![Kangaroo-Rewards-App-Icon-BLUE-Oct-01-2025-07-47-23-2450-PM.png]](https://support.kangaroorewards.com/hs-fs/hubfs/Kangaroo-Rewards-App-Icon-BLUE-Oct-01-2025-07-47-23-2450-PM.png?height=40&name=Kangaroo-Rewards-App-Icon-BLUE-Oct-01-2025-07-47-23-2450-PM.png)
-
Log in to the Business Portal.
- Navigate to Marketing - Live-Geo Tracking.
-
Click Add Location.
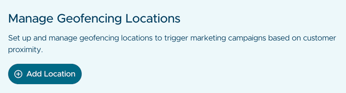
- Fill in the following details:
- Location Name: Give your geofence a clear, recognizable name for easy identification.
- Map Location: Enter the street address or start typing it to select the correct location. You can also pinpoint the area directly on the map to define your geofence boundaries.
- Radius: Set the radius of the geofence in meters or miles (default 50).
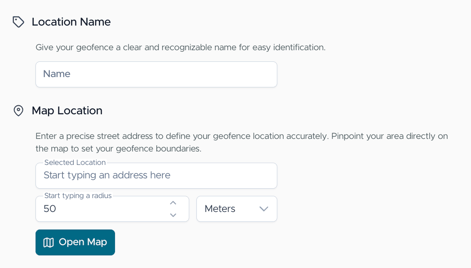
- Click Save to create your geofence location.
- Once your location is saved, click Add New Campaign. This will redirect you to the Marketing Engine.
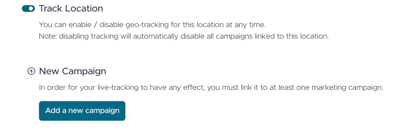
- Select Push Notification as the campaign method.
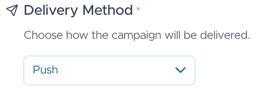
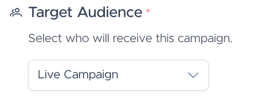
- Set the audience to Live Campaign.
-
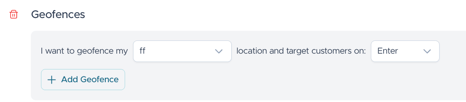
Click on the Audience builder and choose the corresponding geofence.
-
Decide when to target customers:
-
Enter radius
-
Exit radius
You can select both options if desired.
-
- Choose whether to attach an offer or continue without one.
-
Fill in the subject and push message.
-
You have several scheduling options:
-
Start Date/Time – when the campaign begins sending.
-
End Date/Time – when the campaign stops sending.
-
Trigger Days/Times – set specific days and hours for notifications.
Once everything is set, click Send to activate the campaign.
-
Note: This feature is only available for Push Notifications.