Tags allow you to segment customers and target them in the marketing campaigns, helping you send the most relevant offers to your customers.
There are two ways to set up customer tags.
The first way to create customer tags is in the "Customers Management" section of your Kangaroo business portal.
- Log into the Kangaroo Business Portal.
- Go to the Customers section.
- Click on All Tags.

- Click Manage Tags to create customer tags, tag abbreviations, and tag colors from the drop-down list

- Click on New Tag to create a new one

- Fill the information in each field and don't forget to click on the Save icon

The second way to create and APPLY customer tags is on the Kangaroo terminal or via the merchant web app.
- A customer needs to be logged in (with their phone number or email address). Via the tablet or merchant web app.
- Once they have logged in swipe their finger to access the keypad panel. From there tap the three dots on the top right corner of the panel for the employee menu (employees will be asked to enter their 4-digit pin).
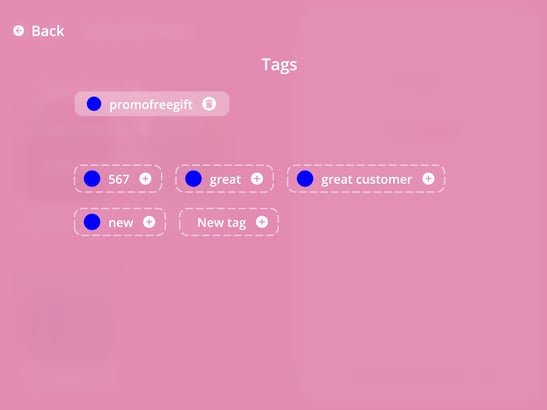
- Select Apply Customer tags.

- From here select a New tag and create as many tags as desired and associate a color to it.
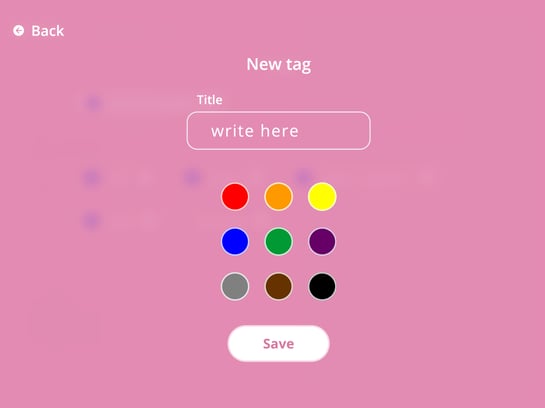
- Click save and then select which tag to apply to the customer's account.
- Go to the Rules section of your business portal.
- Scroll all the way down to the bottom of the page.
- Under the section Merchant App Customer's Display Option here choose the customer tags to appear in full or in color code.